Tapered pipe threads are a special type of thread used for pipe connections. Due to their excellent sealing and connection strength, they are widely used in the petroleum, chemical, machinery, water conservancy, and other fields. The basic dimensions and tolerances of tapered pipe threads are key to ensuring their connection performance, directly affecting the sealing and reliability of pipe connections. Understanding the basic dimensions and tolerance requirements of tapered pipe threads is crucial for their proper design, processing, and inspection.
The basic dimensions of tapered pipe threads include major diameter, minor diameter, pitch diameter, thread pitch, thread angle, and taper. These parameters are clearly defined in national standards. The major diameter is the maximum diameter of the thread, the minor diameter is the minimum diameter, and the pitch diameter is the diameter where the thread thickness and the width between threads are equal. These three diameters vary along the conical surface, gradually decreasing with increasing thread length. The pitch is the axial distance between corresponding points on the pitch line of two adjacent threads. Tapered pipe threads are available in both imperial and metric systems. The most commonly used imperial pitch is expressed in threads per inch, such as 11 threads/inch and 14 threads/inch; the metric pitch is measured in millimeters, such as 1.5mm and 2mm. The thread angle is the angle between the two sides of the thread profile. The standard thread angle for tapered pipe threads is 55° (imperial) or 60° (US). The thread angle directly affects the thread’s load-bearing capacity and sealing performance. Taper is an important feature of tapered pipe threads. The taper of standard tapered pipe threads is 1:16, that is, for every 16mm increase in the axial length of the cone, the diameter decreases by 1mm. The existence of the taper enables the thread to achieve self-tightening sealing during the connection process without the need for additional sealing materials.
Taper pipe threads are categorized by the nominal diameter of the pipe. Taper pipe threads of different nominal diameters have different basic dimensions. The nominal diameter refers to the nominal diameter of the pipe, not the actual major diameter of the thread. For example, a tapered pipe thread with a nominal diameter of 1/2 inch has a major diameter of approximately 20.955mm and a pitch of 1.814mm (14 threads/inch); a tapered pipe thread with a nominal diameter of 3/4 inch has a major diameter of approximately 26.441mm and a pitch of 1.814mm. National standards (such as GB/T 7306) specify detailed dimensional parameters such as major diameter, minor diameter, pitch diameter, pitch, thread height, and effective thread length for tapered pipe threads of various nominal diameters. These standards must be strictly adhered to during design and processing. Taper pipe threads are categorized into internal and external threads. Internal threads are typically cylindrical or conical, while external threads are conical. The basic dimensions of the internal and external threads must match to ensure a precise connection.
The tolerances for tapered pipe threads are the permissible dimensional deviations specified to ensure thread interchangeability and connection performance. These tolerances include the pitch diameter, major diameter, and minor diameter. The pitch diameter tolerance is the core of tapered pipe thread tolerances, as it directly affects the fit and sealing properties of the thread. Pitch diameter tolerances for both internal and external threads are clearly specified and vary depending on the thread precision grade (e.g., Grade A and Grade B). Grade A is more precise than Grade B and is suitable for connection applications with higher requirements. Major and minor diameter tolerances are relatively loose, primarily used to control the thread’s limit dimensions and prevent interference or excessive clearance during threaded connections. The position of the tolerance zone for tapered pipe threads is also specified. The pitch diameter tolerance zone for external threads is typically the upper deviation, while the pitch diameter tolerance zone for internal threads is typically the lower deviation. This ensures an appropriate fit and sealing between the internal and external threads. The tolerance value is related to the nominal diameter and pitch of the thread. A larger nominal diameter and a larger pitch result in a larger tolerance value.
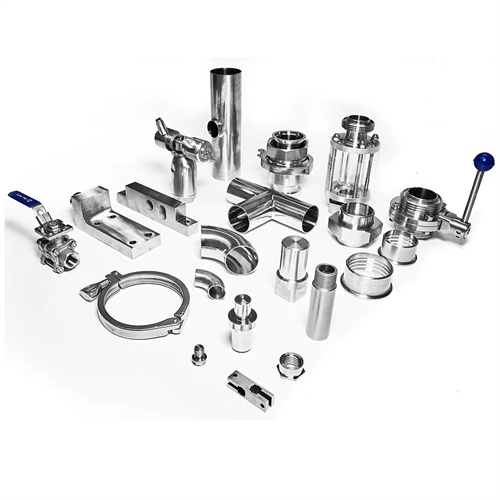
The tolerance marking method for tapered pipe threads must comply with national standards. The thread designation is typically followed by the accuracy grade and tolerance zone designation. For example, the designations for tapered pipe threads are R (external thread), Rc (conical internal thread), and Rp (cylindrical internal thread). For example, R1/2A represents a tapered external thread with a nominal diameter of 1/2 inch and Class A accuracy, while Rc3/4B represents a tapered internal thread with a nominal diameter of 3/4 inch and Class B accuracy. When marking tapered pipe threads on a part drawing, parameters such as the nominal diameter, pitch, thread angle, taper, and accuracy grade must be specified. The effective length and tolerance zone designation should also be noted, if necessary, to facilitate machining and inspection.
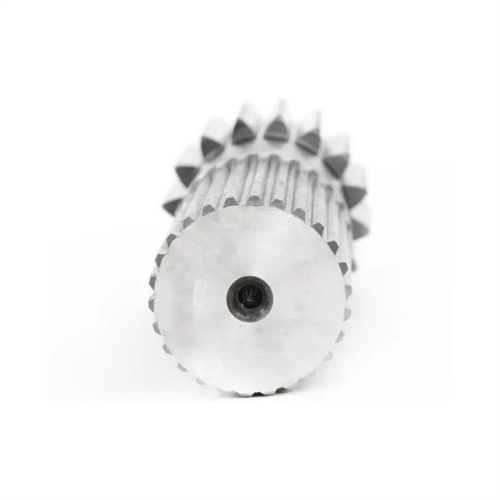
Dimensional inspection of tapered pipe threads is a crucial step in ensuring their quality, requiring the use of specialized gauges and measuring tools. Commonly used gauges include plug gauges and ring gauges. Plug gauges are used to inspect internal threads, while ring gauges are used to inspect external threads. The through and stop gauges are used to determine whether the thread dimensions are within tolerance. The through gauge should be able to be screwed smoothly into the thread, and the screw-in length should meet the requirements; the stop gauge should not be fully screwed in to ensure that the thread dimensions do not exceed the maximum limit. For tapered pipe threads with higher precision requirements, it is also necessary to use a tool microscope or a three-dimensional coordinate measuring machine to measure parameters such as the major diameter, minor diameter, pitch diameter, and pitch, and compare them with the standard dimensions to ensure that all dimensions are within tolerance. Furthermore, it is necessary to verify the correct thread profile and whether the surface roughness meets the requirements (generally requiring Ra 3.2μm or less) to ensure the connection performance and sealing of the thread.
