Cutting motion and workpiece surface
Cutting motion refers to the relative movement between the tool and the workpiece. This motion enables the tool to cut the workpiece, remove excess material, and form a workpiece surface that meets the requirements. Cutting motion can be divided into primary motion and feed motion based on its function. Primary motion provides the cutting power, creating a relative velocity between the tool and the workpiece, directly removing the cutting layer from the workpiece. Feed motion continuously engages the cutting layer, ensuring a continuous cutting process. The workpiece surface is gradually formed by the tool’s cutting edge under the action of cutting motion. It includes the surface to be machined, the machined surface, and the transition surface (cutting surface). Understanding the types and parameters of cutting motion and the patterns that govern the formation of the workpiece surface is crucial for selecting the right machining method, optimizing cutting parameters, and ensuring machining quality.
The primary motion is the fastest and most power-consuming movement in a cutting operation, representing the core motion of the cutting process. The form of the primary motion varies depending on the machining method and machine tool type. In turning, the primary motion is the rotation of the workpiece; in milling, it is the rotation of the milling cutter; in drilling, it is the rotation of the drill bit; in planing, it is the reciprocating linear motion of the tool; and in grinding, it is the rotation of the grinding wheel. The parameters of the primary motion are expressed as cutting speed (vc), which is the linear velocity of the primary motion. The calculation formula is: vc = πdn/1000 (m/min), where d is the diameter of the workpiece or tool (mm) and n is the rotational speed of the workpiece or tool (r/min). Cutting speed directly affects cutting temperature, tool wear, and machining efficiency. Generally speaking, higher cutting speeds increase machining efficiency but also increase tool wear. For example, when turning 45 steel, the cutting speed of carbide turning tools is usually 80-150m/min, while the cutting speed of high-speed steel turning tools is lower, generally 20-50m/min. This is because the heat resistance of high-speed steel is lower than that of carbide.
Feed motion is a motion that cooperates with the main motion to achieve continuous cutting. It has a low speed and consumes less power. Feed motion can be continuous (such as longitudinal feed in turning and feed in milling) or intermittent (such as lateral feed in planing). The parameter of feed motion is expressed by feed rate (f). In turning and boring, the feed rate refers to the distance the tool moves in the feed direction per revolution of the workpiece (mm/r); in milling, the feed rate refers to the distance the workpiece moves in the feed direction per revolution of the milling cutter (mm/r), or the feed per tooth (fz, mm/z); in drilling, the feed rate refers to the distance the drill bit moves axially per revolution (mm/r). The size of the feed rate directly affects the surface roughness and cutting force of the workpiece. The larger the feed rate, the greater the surface roughness and the greater the cutting force; the smaller the feed rate, the smaller the surface roughness, but the processing efficiency is reduced. For example, when fine turning 45 steel, the feed rate is generally 0.08-0.15mm/r, and the surface roughness can reach Ra1.6-3.2μm; when rough turning, the feed rate is 0.2-0.3mm/r, and the surface roughness is Ra6.3-12.5μm.
During the cutting process, a workpiece simultaneously has three surfaces: the surface to be machined, the machined surface, and the transition surface. These three surfaces continuously change with the cutting motion, ultimately forming the finished surface of the part. The surface to be machined refers to the surface immediately before being cut, and its size and shape decrease as the cutting process progresses. The machined surface refers to the surface already cut by the tool and is one of the final surfaces required for the part. Its quality (dimensional accuracy, surface roughness, etc.) must meet design requirements. The transition surface refers to the surface being cut by the tool, located between the two surfaces. Its shape is determined by the tool’s cutting edge and the cutting motion. For example, when turning an external cylindrical part, the surface to be machined is the external cylindrical surface on the workpiece that has not yet been cut by the turning tool, the machined surface is the external cylindrical surface that has already been cut by the turning tool, and the transition surface is the surface being cut by the turning tool (i.e., the surface formed by the contact between the turning tool’s cutting edge and the workpiece). The positional relationship and changing patterns of these three surfaces reflect the progress of the cutting process and are important for analyzing cutting mechanisms and controlling machining quality.
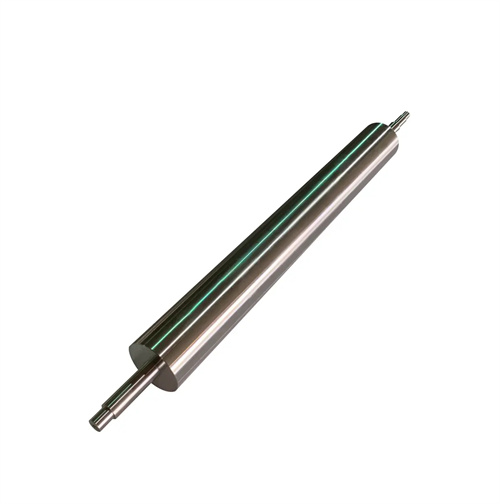
The cutting motion is closely related to the workpiece surface. The type and parameters of the cutting motion directly determine the shape, size, and quality of the workpiece surface. Different cutting motion combinations can form different workpiece surfaces. For example, in turning, the main motion (workpiece rotation) and longitudinal feed motion (axial movement of the tool) are combined to form an outer cylindrical surface; the main motion and transverse feed motion (radial movement of the tool) are combined to form an end face; and the main motion and helical feed motion are combined to form a threaded surface. In milling, the main motion (milling cutter rotation) and feed motion (workpiece movement) are combined to form complex surfaces such as planes, grooves, and curved surfaces. Cutting parameters have a significant impact on the surface quality of the workpiece: too low a cutting speed can easily produce built-up edge, resulting in increased surface roughness; too high a cutting speed can cause burns, affecting surface performance; an increase in feed rate will increase the residual surface area and worsen surface roughness; the cutting depth mainly affects the cutting force and workpiece deformation, and has little effect on surface roughness. However, excessive cutting depth can cause workpiece vibration, indirectly affecting surface quality. Therefore, it is necessary to reasonably select cutting motion parameters according to the workpiece material, tool material and surface quality requirements. For example, when machining high-precision surfaces, high cutting speed, small feed rate and small cutting depth should be used to obtain ideal surface quality.
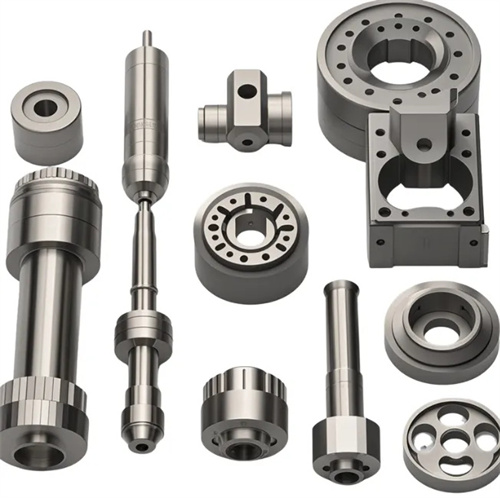
Optimizing cutting motion and controlling workpiece surface quality are important approaches to improving machining efficiency and product performance. Optimizing cutting motion can be achieved through the following approaches: Choosing the appropriate primary motion type. For example, for hard and brittle materials, grinding (with a rotating grinding wheel as the primary motion) is more effective than turning (with a rotating workpiece as the primary motion) to achieve a high-precision surface. Optimizing the feed motion trajectory, such as through circular interpolation and spline interpolation in CNC machining, can bring the feed motion trajectory closer to the ideal surface shape. Coordinating the parameters of the primary and feed motions to match the cutting speed and feed rate improves efficiency while ensuring surface quality. Surface quality control measures include selecting appropriate tool geometry, such as increasing the rake angle to reduce cutting deformation and reducing the tool tip radius to reduce residual surface area. Using effective cooling and lubrication methods to reduce surface damage from friction and cutting heat. Finishing the machined surface (such as grinding and polishing) to further reduce surface roughness ( Ra ≤ 0.025 μm). For example, when machining the outer cylindrical surface of a precision bearing ring, the process route of “rough turning → semi-finishing turning → grinding” is adopted. During grinding, the main motion (grinding wheel rotation) speed is 30-50m/s, and the feed motion (axial movement of the workpiece) speed is 10-20m/min. The final surface roughness can reach Ra0.4μm, and the roundness error is ≤0.001mm, meeting the high-precision requirements of the bearing.
