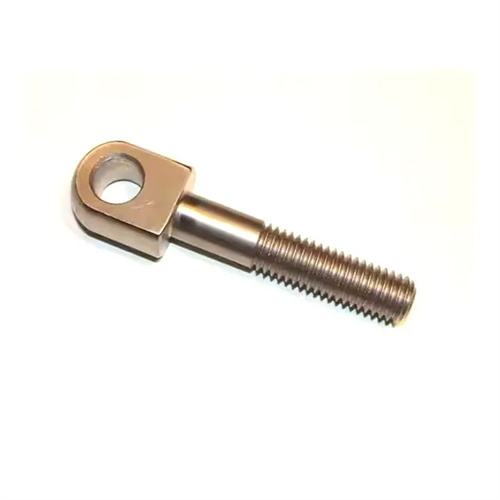
Spline finishing allowance
As a high-load-bearing connection structure, splines are widely used in transmission systems such as automotive transmissions, machine tool spindles, and construction machinery. Their precision directly affects the reliability of the connection and transmission efficiency. Spline finishing allowance refers to the thickness of the metal layer remaining on the spline after rough machining and before finishing. This allowance must be removed during finishing to eliminate shape errors, positional errors, and surface defects caused by rough machining and heat treatment, ultimately achieving the required design accuracy level (such as Grade 6 and Grade 7 in GB/T 1144). To reasonably determine the spline finishing allowance, factors such as spline type, material properties, heat treatment method, accuracy level, and machining method must be comprehensively considered. Excessive allowance will increase processing costs and time, while too small an allowance will make it impossible to correct errors, resulting in product scrap.
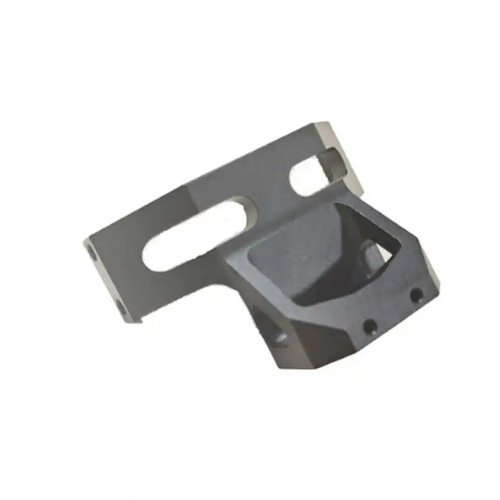
Spline type and structural dimensions are fundamental factors in determining finishing allowances. Common spline types include rectangular splines, involute splines, and triangular splines. Different types of splines have different finishing allowances due to their different tooth profile characteristics. The tooth flanks of rectangular splines are straight lines, and the machining allowance is primarily distributed in the tooth height direction. For rectangular splines centered on the large diameter, the finishing allowance for the large diameter of the external spline is generally 0.3-0.5mm, the minor diameter is 0.1-0.2mm, and the tooth flank allowance is 0.05-0.1mm/side. The tooth profile of involute splines is an involute, and the integrity and accuracy of the tooth profile must be ensured. The radial finishing allowance (i.e., the allowance from the tooth top circle to the tooth root circle) is typically 0.2-0.4mm and needs to be evenly distributed along the tooth profile. The structural dimensions of a spline significantly influence the stock allowance. For an involute spline with a module m = 2-5mm, for example, when the minor diameter d = 30-50mm, the radial allowance is 0.2-0.3mm; for d = 50-100mm, the allowance increases to 0.3-0.4mm. This is because large splines are prone to greater deformation during rough machining and heat treatment, requiring more stock allowance correction. For slender spline shafts with an aspect ratio greater than 5, due to poor rigidity and prone to deformation during machining, the stock allowance should be increased by 10%-20% to avoid local stock allowance shortfalls due to deformation.
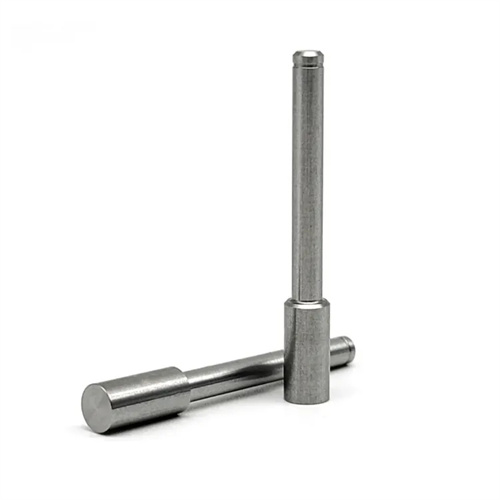
The influence of material properties and heat treatment methods on spline finishing allowances cannot be ignored. The machining properties and degree of heat treatment deformation vary significantly between materials, directly determining the required allowance. For example, 45 steel and 20CrMnTi exhibit minimal deformation after quenching and tempering (220-250 HB), allowing the side allowance for rectangular splines to be controlled at 0.05-0.08 mm/side. However, after carburizing and quenching 20CrMnTi (surface hardness 58-62 HRC), the microstructure transformation of the carburized layer causes significant volume expansion and shape changes, requiring an increase in side allowance to 0.1-0.15 mm/side to ensure that errors caused by quenching deformation and surface defects in the carburized layer are eliminated. For cast iron splines (such as HT300), due to their brittleness and the tendency to chip during machining, the finishing allowance should be 20%-30% less than that for steel splines. Typically, the side allowance is 0.04-0.07mm per side to avoid tooth profile cracking caused by excessive allowance. Straightening after heat treatment also affects the allowance. If the spline shaft is press-straightened after quenching to correct the bending deformation, the allowance can be appropriately reduced by 5%-10%. However, it is important to ensure that the residual stress after straightening has been eliminated through aging treatment.
The spline’s precision grade is the core basis for determining the finishing allowance. The higher the precision requirement, the larger the required allowance. According to GB/T 1144, spline precision grades range from 3 (highest) to 9 (lowest), with grades 6 and 7 being the most commonly used grades. Grade 6 involute splines, used for high speeds, heavy loads, or applications requiring high centering accuracy, require a radial finishing allowance of 0.3-0.4mm to ensure the tooth profile’s form accuracy (tooth profile error ≤ 0.015mm) and positional accuracy (tooth profile error ≤ 0.01mm/100mm). Grade 7 splines, used for general transmissions, require a radial finishing allowance of 0.2-0.3mm (tooth profile error ≤ 0.025mm). The precision of rectangular splines is primarily reflected in the tolerance of the centering diameter and the tooth side clearance. For large-diameter centering splines with Grade 6 precision, the finishing allowance for the large diameter is 0.4-0.5mm to ensure the dimensional tolerance (IT6) and roundness (≤0.005mm) of the large diameter. Grade 9 precision splines, on the other hand, are used for low-precision transmissions, and the large diameter allowance only requires 0.1-0.2mm. It is important to note that the allowance varies depending on the spline. The tooth flank, as the mating surface, has the largest allowance; the tooth addendum and tooth root, as non-mating surfaces, can have reduced allowances. For example, the tooth root allowance of an involute spline is generally 1/2-2/3 of the tooth addendum allowance.
The machining method and process route significantly influence the determination of the finishing allowance for splines. The removal capacity and accuracy of each machining method determine the minimum allowance. When roughing with hobbing or slitting, due to the lower machining accuracy (tooth profile error of 0.1-0.2mm), a larger allowance must be reserved for subsequent finishing. For example, for involute splines after hobbing, the allowance for grinding is 0.2-0.3mm. If roughing with broaching (higher accuracy, tooth profile error of 0.05-0.1mm) reduces the finishing allowance to 0.1-0.2mm. If the process route includes heat treatment, allowances must be allocated before and after heat treatment. For example, in a “rough rolling → quenching → finish rolling” route, a 0.3-0.4mm allowance (including quenching deformation) is reserved after rough rolling, and 0.2-0.3mm is removed for finish rolling after quenching, leaving 0.1mm for final finishing. For splines that require grinding, the pre-grinding allowance is determined based on the grinding method: When grinding with a profile wheel, the allowance is 0.1-0.15mm; when grinding with a worm wheel, the allowance can be reduced to 0.05-0.1mm due to its higher efficiency and precision. Furthermore, to ensure uniform allowances during mass production, the actual allowance is determined through trial cutting of the first piece. Typically, a 0.05-0.1mm margin is added to the design allowance to compensate for fluctuations in blank size.
Determining the finishing allowance for splines requires a combination of theoretical calculations and practical experience. Common methods include empirical formulas, lookup tables, and trial cutting. The empirical formula is applicable to involute splines. The formula is: radial allowance Δ = K × m, where m is the module and K is the coefficient (K = 0.15-0.2 for Grade 6 precision, K = 0.1-0.15 for Grade 7 precision). For example, for a Grade 6 spline with m = 3mm, Δ = 0.45-0.6mm. The lookup table method directly selects from machining manuals based on the spline type, precision grade, and dimensions. For example, the “Machinery Manufacturing Process Design Manual” stipulates that for rectangular splines (Grade 7 precision) with a major diameter d = 20-30mm, the major diameter allowance is 0.3-0.4mm, and the side allowance is 0.06-0.08mm/side. The trial cutting method is used in new product trials. By machining several prototypes and measuring the errors after rough machining, appropriate allowances are determined. For example, if the tooth direction error of a spline after rough machining is 0.1mm, a finishing allowance of ≥0.1mm is required to correct this error. In actual production, this allowance must be dynamically adjusted. If shape errors persist after finishing, the allowance should be increased appropriately. If tool wear is rapid, it is necessary to check whether excessive allowances are causing increased cutting forces. By scientifically determining the finishing allowance for splines, machining efficiency can be maximized while maintaining accuracy and reducing production costs.
