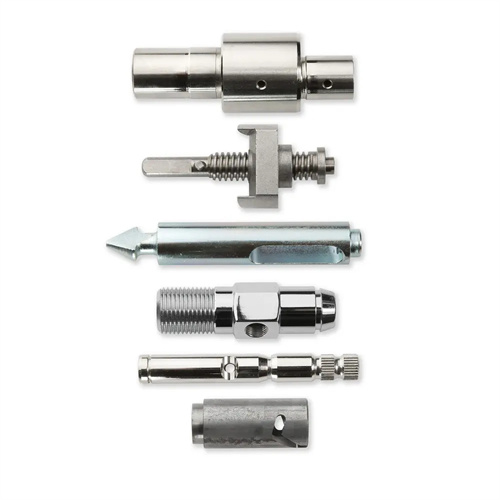
Cutting conditions for high-strength steel
High-strength steel refers to steel with a yield strength greater than 600 MPa. It exhibits high strength, high toughness, excellent fatigue performance, and corrosion resistance, and is widely used in aerospace, automotive, marine engineering, and other fields, such as aircraft landing gear, high-pressure vessels, and bridge structures. However, high-strength steel has poor machinability, primarily characterized by high cutting forces, high cutting temperatures, rapid tool wear, and severe work hardening. Therefore, properly determining its cutting conditions is key to ensuring machining quality and efficiency. Cutting conditions for high-strength steel primarily include tool material selection, tool geometry design, cutting parameter optimization, and cooling and lubrication methods, and must be tailored to the specific steel grade and machining requirements.
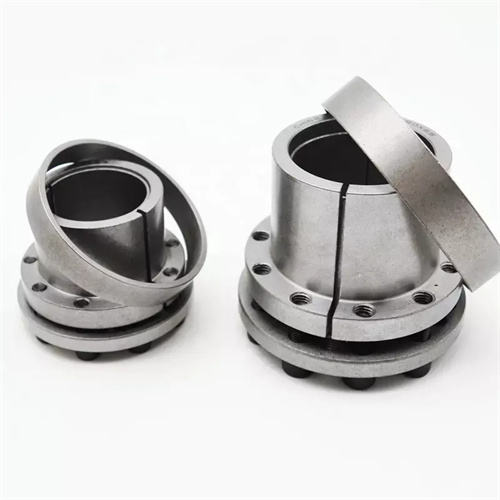
The selection of tool materials is crucial for high-strength steel cutting, requiring high hardness, high wear resistance, and good heat resistance. Due to the high hardness and strength of high-strength steel, ordinary high-speed steel tools struggle to withstand the cutting forces and high temperatures. Therefore, carbide tools are preferred. For roughing, tungsten-cobalt carbides with increased toughness (such as YG8 and YG10) are suitable. These high cobalt content provides excellent bending strength and impact toughness, allowing them to withstand high cutting forces and shock loads, making them suitable for interrupted cutting and large stock removal. For semi-finishing and finishing, tungsten-cobalt-titanium carbides with increased wear resistance (such as YT15 and YT30) or general-purpose carbides (such as YW1 and YW2) are recommended. YT carbides, with their high titanium content and excellent heat and wear resistance, are suitable for continuous cutting. YW carbides combine the advantages of both YG and YT carbides, enabling them to process a wide range of high-strength steels and are particularly well-suited for difficult-to-machine materials such as stainless steel. For situations where extremely high precision is required, coated carbide (such as TiAlN coating) or cubic boron nitride (CBN) tools can be used. The surface hardness of coated tools can reach over 3000HV, which can effectively reduce friction and wear; CBN tools have a hardness of up to 8000-9000HV and a heat resistance of up to 1300℃, making them suitable for high-speed precision turning of high-strength steel.
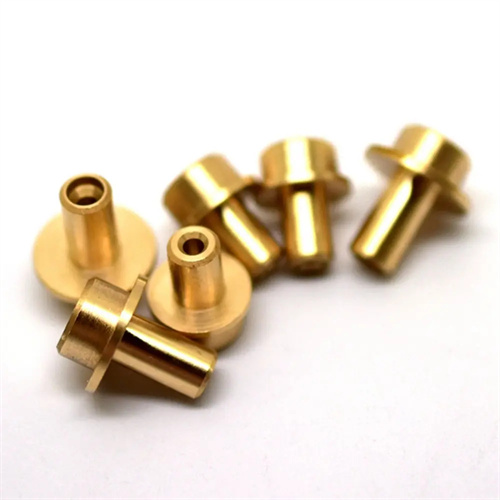
The optimized design of tool geometry significantly impacts the cutting performance of high-strength steel. Cutting forces and temperatures must be minimized while ensuring tool strength. The selection of the rake angle should be tailored to the plasticity of the high-strength steel. For high-strength steels with high plasticity (such as quenched and tempered 40CrNiMoA), a rake angle of 5°-10° is recommended to minimize cutting deformation. For high-strength steels with low plasticity and high hardness (such as quenched 30CrMnSiA), a rake angle of 0°-5°, or even a negative rake angle, is recommended to enhance cutting edge strength. The clearance angle is generally 6°-10°. A smaller clearance angle increases friction between the flank face and the workpiece, while a larger clearance angle reduces tool rigidity. During finishing, the clearance angle can be appropriately increased to 8°-12° to improve surface quality. The lead angle should be 45°-75° to reduce radial cutting forces and prevent workpiece deformation and vibration. For workpieces with less rigidity, the lead angle can be increased to 90°. The tool tip radius should be 0.4-1.2mm. A larger tip radius can enhance tool tip strength and reduce the risk of chipping, but avoid increasing cutting forces due to excessive radius. The cutting edge should be chamfered with a width of 0.1-0.3mm and an angle of -5°-0° to improve edge strength and prevent micro-chipping caused by the work-hardened layer.
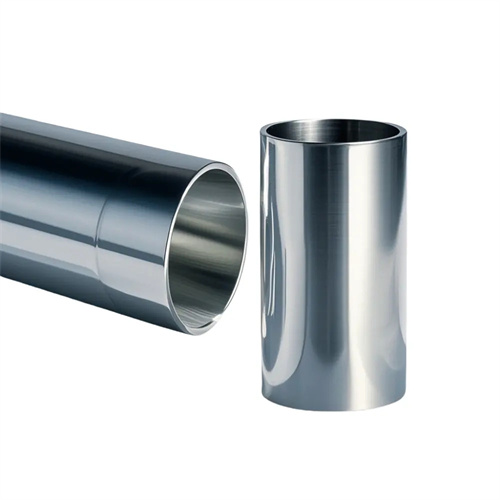
Proper setting of cutting parameters is key to balancing high-strength steel cutting efficiency and tool life. Cutting speed has the greatest impact on tool wear. Excessively high cutting speeds can cause a sudden rise in cutting temperature, exacerbating tool wear; too low a cutting speed will increase machining time and reduce efficiency. During roughing, the cutting speed of carbide tools is generally 50-100m/min; during fine machining, this can be increased to 80-150m/min; during fine turning with CBN tools, the cutting speed can reach 150-300m/min. The feed rate should be determined according to the machining stage and surface quality requirements: 0.2-0.4mm/r for roughing to quickly remove excess; 0.1-0.2mm/r for fine machining to ensure a surface roughness Ra ≤ 3.2μm. The cutting depth should be as large as possible: 2-5mm for roughing to cut through the hardened layer in one go, avoiding repeated cutting of the hardened layer by the tool; 0.3-1mm for fine machining to ensure the removal of surface defects. For intermittent cutting, such as machining high-strength steel parts with keyways or steps, the cutting speed and feed rate should be appropriately reduced to reduce the impact load on the tool.
Cooling, lubrication, and clamping methods are crucial to high-strength steel cutting quality. Because high-strength steel cutting generates significant heat and dissipates slowly, effective cooling measures are essential to reduce cutting temperatures, tool wear, and workpiece thermal deformation. Extreme-pressure emulsions or cutting oils should be used as cooling lubricants. Extreme-pressure additives (such as sulfurized fatty acid esters and phosphides) form a chemical lubricating film under high temperature and pressure, effectively reducing friction between the tool, workpiece, and chips. High-pressure spraying is recommended, with a pressure of 2-5 MPa and a flow rate of 20-40 L/min, to spray the cutting fluid directly onto the cutting area to ensure adequate cooling. When clamping, the workpiece must be secure and stable to avoid vibration and displacement. For large or slender high-strength steel parts, a steady rest, steady rest, or specialized fixtures should be used to enhance rigidity. Clamping force should be evenly distributed to avoid workpiece deformation caused by excessive localized stress. Soft jaws or copper sheets between the jaws and the workpiece can be used to prevent surface damage. For thin-walled parts, axial clamping should be employed to minimize the impact of radial clamping forces on the workpiece.
Special attention must be paid to key process points and quality control when cutting high-strength steel. The machining sequence should adhere to the principle of “roughing first, finishing second, and symmetrical machining.” After roughing, aging treatment (such as low-temperature aging at 120-180°C for 4-6 hours) should be performed to eliminate cutting stress and prevent deformation during subsequent machining. Before finishing, inspect the workpiece surface for any work-hardened layer and, if necessary, remove it by grinding to ensure quality. During cutting, closely monitor tool wear. If flank wear reaches 0.3-0.5mm, sharpen or replace the tool promptly to avoid surface degradation and dimensional deviations caused by tool wear. Surface roughness is generally required to be Ra ≤ 6.3μm. For critical parts, fine turning or grinding is required to further improve to Ra ≤ 1.6μm. Regarding dimensional accuracy control, due to work hardening and thermal deformation in high-strength steel, a 0.1-0.2mm margin should be allowed during finishing. Final machining should be performed after the workpiece has cooled to room temperature to ensure dimensional stability. For parts with strict requirements, non-destructive testing (such as ultrasonic testing and magnetic particle testing) is required after processing to ensure that there are no defects such as cracks and inclusions, so as to ensure the safety of the parts.
