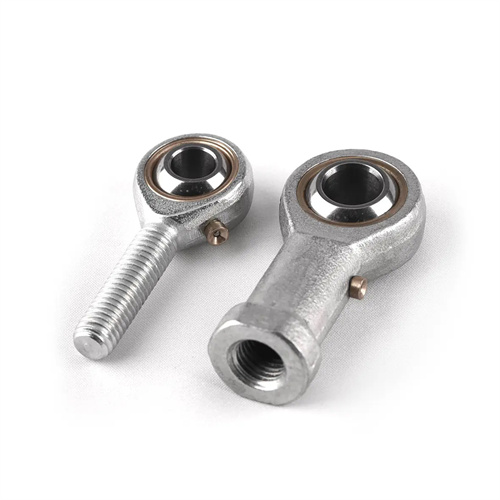
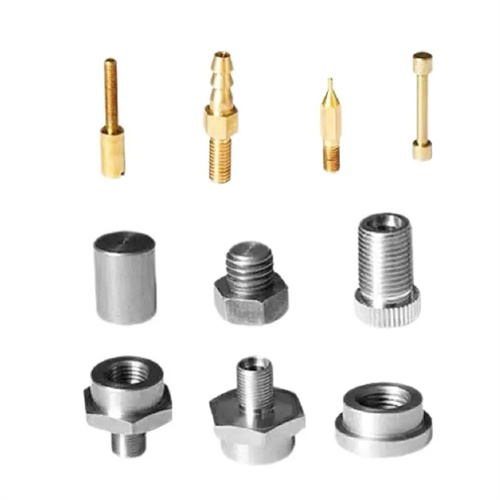
Machining of Steel Thin-Walled Step Sleeve
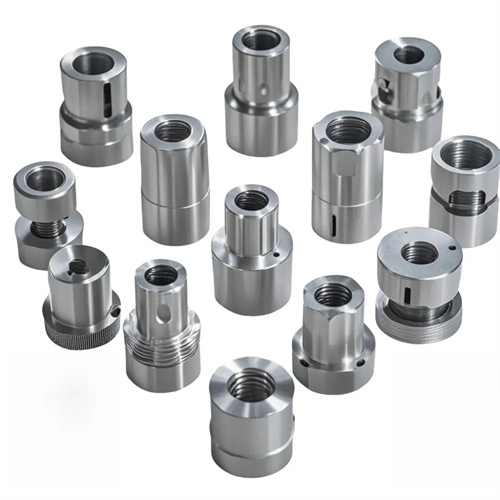
Thin-walled steel step sleeves are common components in mechanical structures. Characterized by their thin walls and multiple steps, they are widely used in hydraulic systems, precision instruments, automotive transmissions, and other fields, primarily providing support, guidance, and sealing functions. Due to their thin walls and stepped structure, they are susceptible to deformation during turning due to cutting forces, clamping forces, and cutting heat, making it difficult to maintain dimensional and shape accuracy. Therefore, turning thin-walled steel step sleeves is a challenging task in machining. To achieve efficient and high-quality machining, targeted measures are required, including clamping methods, tool selection, and cutting parameter optimization, to control deformation and ensure machining quality.
Choosing the right clamping method is key to controlling deformation in thin-walled steel stepped sleeves. Traditional three-jaw chucks, directly clamping the outer diameter, can easily cause radial deformation in thin-walled sleeves. This is especially true for multi-step structures, where varying rigidity between diameters exacerbates deformation. For smaller-diameter stepped sleeves, mandrel clamping can be used. Using the machined inner bore as a positioning reference, axial clamping via a nut or pressure plate distributes the clamping force axially, minimizing radial deformation. The clearance between the mandrel and the inner bore should be controlled between 0.01-0.03mm to ensure positioning accuracy while avoiding workpiece deformation caused by interference fit. For larger-diameter stepped sleeves, soft jaws can be used. These jaws should conform to the workpiece’s outer diameter, increasing the clamping area and evenly distributing the clamping force. Copper sheets can be placed between the jaws and the workpiece to prevent surface damage and further cushion the clamping force. For workpieces with large step heights, a steady rest or steady rest should be used to enhance workpiece rigidity and prevent vibration and bending during cutting.
Tool selection significantly impacts the turning quality of thin-walled steel step sleeves, balancing cutting efficiency and minimizing deformation. Due to the low rigidity of thin-walled parts, sharp and strong tools should be selected to reduce cutting forces. Carbide tools, such as YT15 and YG8, are preferred. YT15 is suitable for machining steel, offering high wear and heat resistance; YG8, with its superior toughness, is suitable for intermittent cuts involving step areas. For applications requiring high precision, coated carbide tools, such as TiAlN-coated tools, can be used. These tools offer higher surface hardness and a lower coefficient of friction, effectively reducing cutting temperatures and tool wear. Tool geometry should be optimized: a rake angle of 10°-15° is recommended to minimize cutting deformation; a clearance angle of 8°-12° reduces friction between the flank and the workpiece; a lead angle of 75°-90° reduces radial cutting forces and prevents workpiece bending; and a nose radius of 0.2-0.5mm minimizes workpiece compression. In addition, the turning of the step part requires the use of a forming tool or a special tool to ensure the perpendicularity of the step end face and the axis and avoid the cumulative error caused by multiple passes.
Optimizing cutting parameters is key to balancing machining efficiency and deformation control. Excessively high cutting speeds can cause a sudden rise in cutting temperature, leading to thermal deformation of the workpiece; excessively low cutting speeds can increase cutting forces and exacerbate plastic deformation. When turning thin-walled step sleeves made of ordinary carbon steel, the cutting speed of carbide tools should be controlled at 100-150 m/min; for alloy structural steels, the cutting speed can be reduced to 80-120 m/min. The feed rate should be kept low, generally 0.08-0.15 mm/r, to reduce cutting forces and surface roughness, but excessive feed rates, which can lead to extended machining times and increased tool wear, should be avoided. The depth of cut is determined according to the machining stage: 1-2 mm for roughing to quickly remove stock; 0.5-1 mm for semi-finishing to correct shape errors; and 0.1-0.3 mm for finishing to ensure dimensional accuracy and surface quality. For multi-step structures, machining should be carried out in order from large to small diameter, with each feed cutting only one step to avoid the compound stresses caused by the tool cutting multiple steps simultaneously. At the same time, it is necessary to control the supply of cutting fluid and use high-pressure injection to deliver emulsion or extreme pressure cutting oil directly to the cutting area to reduce temperature, improve lubrication, and reduce thermal deformation and tool sticking.
A well-planned machining process is crucial for ensuring the precision of thin-walled steel step sleeves. The principles of “roughing first, finishing second, interior first, exterior second, and symmetrical machining” should be adhered to minimize machining stress and deformation. During roughing, most stock should be removed to fully release internal stresses. After roughing, aging treatment (such as natural aging for 24-48 hours or low-temperature aging at 120-150°C for 4-6 hours) should be performed to eliminate cutting stress and prevent deformation during subsequent machining. During semi-finishing, the inner steps are machined first, followed by the outer steps, using the hole as a reference point, to ensure coaxiality between the inner and outer steps. For inner holes requiring high precision, boring can be used, gradually improving accuracy through multiple passes. The final inner hole tolerance is controlled within H7-H8, with a surface roughness Ra ≤ 1.6μm. A dial indicator should be used for alignment of the outer steps to ensure coaxiality of each step diameter is no greater than 0.01mm, and the perpendicularity of the step end faces is no greater than 0.005mm/m. During the finishing phase, all surfaces should be machined in a single clamping setup to avoid positioning errors caused by multiple clamping. For ultra-thin step sleeves with a wall thickness less than 1mm, a 0.1-0.2mm margin can be retained during finishing. Finally, aging treatment should be performed before final finishing to ensure dimensional stability.
Quality inspection and error compensation are the final steps in turning thin-walled steel step sleeves, requiring the use of precision measuring tools and scientific methods to ensure accuracy. During machining, inside and outside diameters should be measured in real time using inside and outside micrometers, and the verticality of the step end faces and the roundness of the workpiece should be checked with a dial indicator. For mass production, specialized gauges can be manufactured for rapid inspection. The gauge accuracy should be one to two grades higher than that of the workpiece. If workpiece deformation is detected, the cause should be analyzed and corrective measures implemented. For example, if deformation is caused by excessive clamping force, the jaw pressure should be adjusted or axial clamping should be used. For deformation caused by cutting heat, cooling should be increased or cutting speeds should be reduced. For deformation caused by residual stress, the number of aging treatments should be increased. Minor deformation can be corrected through straightening processes, such as pressure straightening or flame straightening. However, careful aging treatment after straightening is important to prevent further deformation. The final product undergoes comprehensive testing, including dimensional accuracy, geometric tolerances, and surface quality, to ensure compliance with design requirements. Mechanical property testing of samples should be conducted as necessary to ensure the durability of the step sleeve.
