Machining of high manganese steel
High-manganese steel refers to austenitic steel with a manganese content of 10%-15%. It exhibits excellent impact toughness and work-hardening properties. When subjected to strong impact or extrusion, its surface rapidly work-hardens, forming a hard, wear-resistant surface layer while retaining excellent toughness at the core. Therefore, it is widely used in the manufacture of components subject to impact and wear, such as excavator bucket teeth, crusher jaws, and railway frogs. However, turning high-manganese steel is extremely difficult, primarily due to its significant work-hardening effect, poor thermal conductivity, and high toughness. This makes cutting prone to tool sticking, rapid tool wear, and poor surface quality. Therefore, turning high-manganese steel requires specialized tool materials, tool geometries, and cutting processes to overcome these challenges.
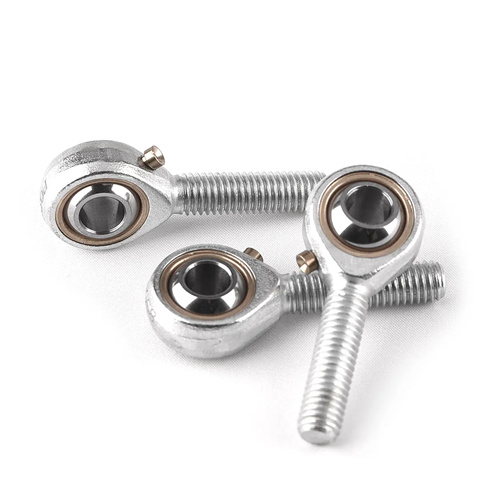
The choice of tool material is crucial for turning high-manganese steel. It must possess high hardness, high wear resistance, and good impact resistance. Because the work-hardened layer of high-manganese steel can reach a hardness of HB400-500 , significantly higher than the base material hardness ( HB200-250 ), ordinary high-speed steel and carbide tools struggle to withstand the intense wear. For roughing, tough, ultrafine-grained carbides such as YG10H and YW4 can be used. YG10H , with its high cobalt content ( 10% ), offers high bending strength and impact toughness, making it suitable for withstanding high cutting forces and shock loads. YW4 is a general-purpose carbide that combines wear resistance and toughness, making it suitable for interrupted cutting. For finishing, coated carbides with even higher wear resistance, such as TiCN-Al₂O₃-TiN multilayer coatings, should be selected. These tools boast surface hardness exceeding 3000 HV and an oxidation resistance temperature exceeding 800°C , effectively resisting wear of the work-hardened layer. For occasions with high precision requirements, cubic boron nitride ( CBN) tools can be used. Their hardness is as high as 8000-9000HV, they can maintain stable cutting performance at high temperatures, and are suitable for high-speed precision turning of high-manganese steel.
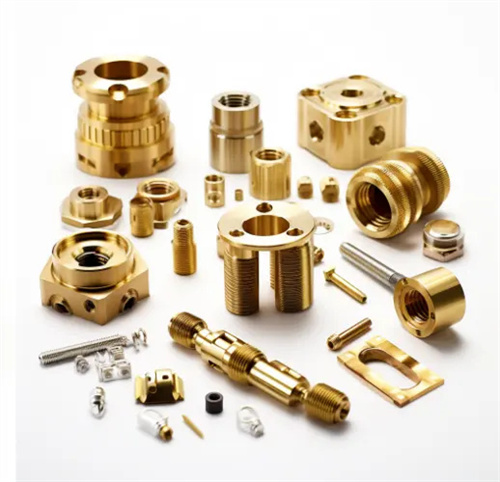
The optimized design of tool geometric parameters can effectively improve the cutting performance of high manganese steel. Due to the high toughness and large cutting deformation of high manganese steel, the tool rake angle should be small or even negative. The rake angle is -5°-0° during roughing to enhance the blade strength and prevent chipping; the rake angle can be appropriately increased to 0°-5° during fine machining to improve the surface quality. The back angle is 5°-8°. Too small will increase the friction on the back face, while too large will reduce the tool strength. The main rake angle is 45°-60° to increase the contact length between the tool and the workpiece, disperse the cutting force, and reduce wear; the secondary rake angle is 10°-15° to reduce the residual area of the machined surface. The tool tip radius is 0.8-1.2mm. A larger tool tip radius can enhance the tool tip strength and reduce the risk of chipping, but it is necessary to avoid an increase in cutting force due to an excessively large radius. The cutting edge should be chamfered with a chamfer width of 0.1-0.2mm and an angle of -5°-0° to improve the cutting edge strength and prevent micro-collapse under the action of the work hardening layer.
Properly setting cutting parameters is crucial for the efficiency and quality of high-manganese steel turning. Cutting speed is a key factor influencing work hardening and tool wear. Excessively high cutting speeds exacerbate work hardening and tool wear, while excessively low cutting speeds increase cutting forces and lead to a thickened work-hardened layer. For roughing, the cutting speed for carbide tools should be controlled between 30-50 m/min; for finishing, this can be increased to 50-80 m/min; for finish turning with CBN tools, the cutting speed can reach 100-150 m/min. A high feed rate should be selected: 0.2-0.4 mm/r for roughing to avoid prolonged tool friction in the work-hardened layer; and 0.1-0.2 mm/r for finishing to ensure surface quality. The depth of cut should be as large as possible: 3-10 mm for roughing to penetrate the work-hardened layer in one go to avoid repeated cutting and increased wear; and 0.5-2 mm for finishing to ensure the removal of surface defects. During cutting, continuous cutting should be maintained, avoiding interrupted cutting to reduce tool impact loads and wear.
Cooling, lubrication, and clamping methods significantly impact the turning quality of high-manganese steel. Due to the low thermal conductivity of high-manganese steel (only 1/3-1/2 that of 45 steel), cutting heat tends to concentrate in the cutting zone, leading to elevated tool temperatures and thermal deformation of the workpiece. Therefore, adequate cooling measures are essential. Extreme-pressure cutting oil or a high-concentration extreme-pressure emulsion (10%-15%) should be used as the cooling lubricant. Extreme-pressure additives (such as sulfides and phosphides) can form a chemical lubricating film under high temperature and pressure, effectively reducing friction and wear. High-pressure spraying (3-5 MPa, 20-30 L/min) is recommended for cooling, with the cutting fluid sprayed directly onto the cutting zone to ensure adequate cooling. When clamping, the workpiece must be secure and free of vibration and movement. For large high-manganese steel parts, such as crusher jaws, specialized clamps and auxiliary supports are required to enhance rigidity. The clamping surface should be flat and clean, and copper sheets should be used as pads if necessary to prevent pinching and slipping. For thin-walled parts, axial clamping should be used to minimize deformation caused by radial clamping forces.
Special attention must be paid to key technical points and quality control during high-manganese steel turning. The machining sequence should adhere to the principle of “roughing first, finishing second, large-scale workpieces first, small-scale workpieces later.” During roughing, remove as much excess stock as possible to minimize the impact of the hardened layer during subsequent machining. After roughing, the workpiece should be aged to eliminate machining stresses and prevent deformation during finishing. Before finishing, inspect the workpiece surface for defects such as cracks and inclusions, and address any defects promptly. During turning, closely monitor tool wear. If flank wear reaches 0.5-1mm, sharpen or replace the tool promptly to avoid surface degradation and workpiece dimensional deviations caused by tool wear. The machined surface roughness requirement is generally Ra ≤ 6.3μm. For areas with higher requirements, grinding or polishing after finish turning can improve to Ra ≤ 3.2μm. Regarding dimensional accuracy control, due to work hardening and thermal deformation in high-manganese steel, allow an excess of 0.1-0.2mm during finishing. Final machining should be performed after the workpiece cools to room temperature to ensure dimensional stability. For important parts, non-destructive testing is required after processing, such as magnetic particle inspection