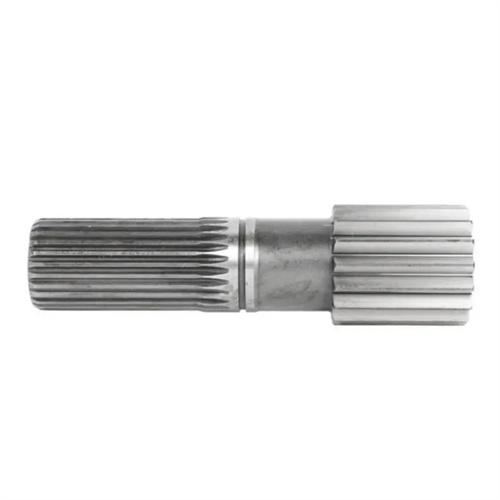
Measuring method for turning cylindrical holes
Machining cylindrical holes is a common process in machining. Its quality directly impacts the fit and performance of parts, requiring rigorous measurement of the dimensional accuracy, shape precision, and surface roughness of cylindrical holes. A variety of measurement methods exist for turning cylindrical holes, each suited to different precision requirements and measurement scenarios. Mastering these methods is crucial for ensuring the machining quality of cylindrical holes. In actual measurement, the appropriate measurement tools and methods must be selected based on factors such as the diameter, precision grade, and production batch size of the cylindrical hole to achieve accurate results.
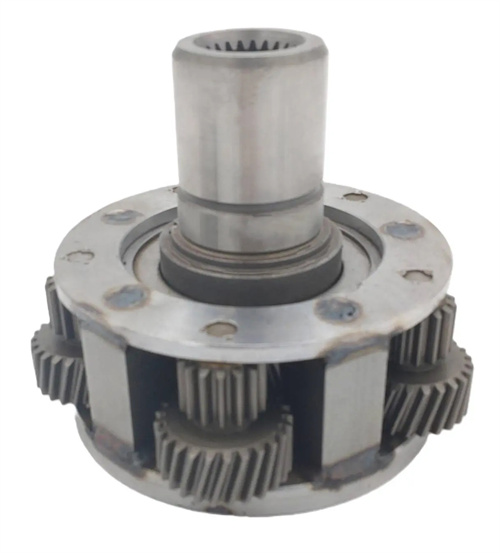
An inside micrometer is a common tool for measuring the dimensional accuracy of cylindrical holes. It is suitable for measuring cylindrical holes with diameters ranging from 5 to 2000 mm, with a measurement accuracy of up to 0.001 mm. An inside micrometer consists of a micrometer head and extension rods of varying lengths. The appropriate extension rod is selected based on the depth of the cylindrical hole. The micrometer head is inserted into the hole, ensuring contact between the measuring jaws and the hole wall. The reading is then read by rotating the differential cylinder. Multiple measurements should be taken at different cross-sections and in different directions of the cylindrical hole, with the average value taken as the measurement result to minimize measurement error. For cylindrical holes requiring higher precision, the inside micrometer should also be calibrated against a ring gauge to ensure accuracy. The inside micrometer is easy to operate and offers high measurement accuracy, making it suitable for measuring cylindrical holes in single-piece and small-batch production.
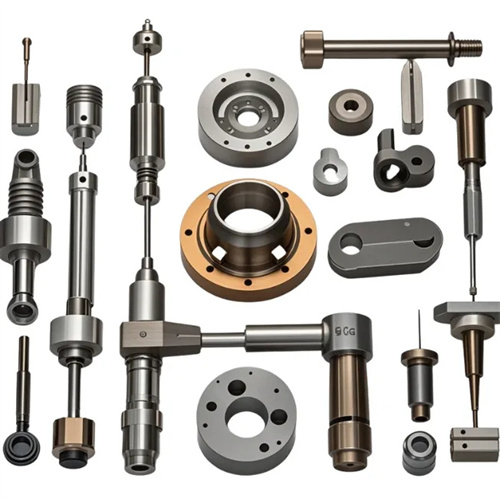
The inside diameter micrometer is a measuring tool used to measure the shape accuracy and dimensional accuracy of cylindrical holes. It is usually composed of a micrometer, a stand, and an interchangeable probe. The measuring range is generally 6-450mm, and the measurement accuracy can reach 0.01mm. The measurement principle of the inside diameter micrometer is to compare the size of the cylindrical hole to be measured with the standard size through the comparison method to obtain the measurement result. When using, first select a suitable probe according to the diameter of the cylindrical hole, adjust the inside diameter micrometer to the same size as the standard ring gauge, and then place it into the cylindrical hole to be measured. Gently swing the stand to make the probe fully contact with the hole wall. At this time, the reading of the micrometer is the size difference between the hole to be measured and the standard ring gauge. The inside diameter micrometer is suitable for measuring the roundness, cylindricity and other shape accuracy of cylindrical holes, as well as the diameter size of the hole, and is widely used in mass production.
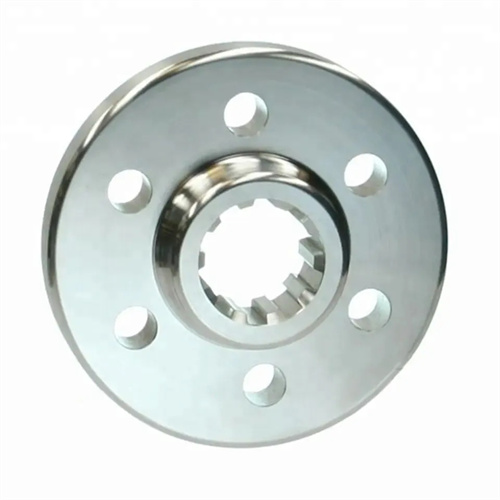
For cylindrical holes with extremely high precision requirements (such as IT5 and above), more sophisticated measurement methods, such as pneumatic measuring instruments, are required. Pneumatic measuring instruments use the pressure changes generated by compressed air passing through the gap between the nozzle and the hole wall to measure the size and shape errors of the hole. With a measurement accuracy of up to 0.0001mm, they offer advantages such as high measurement speed, no damage to the workpiece surface, and continuous measurement. When using a pneumatic measuring instrument, the instrument must be calibrated before the nozzle is inserted into the cylindrical hole to be measured. The dimensional deviation and shape error of the hole are determined by observing the instrument’s indication. Pneumatic measuring instruments are suitable for measuring high-precision cylindrical holes in mass production, and are particularly suitable for measuring deep, small, and complex-shaped holes.
In addition to the measurement methods mentioned above, there are also some auxiliary measurement tools and methods that can be used to measure turned cylindrical holes. For example, for cylindrical holes with larger diameters, a steel ruler and internal and external calipers can be used for rough measurement. The internal and external calipers can be compared with a standard gauge block before measuring the diameter of the cylindrical hole. The accuracy of the measurement results depends on the operator’s experience. For blind holes and stepped holes, a depth micrometer can be used to measure the depth of the hole to ensure the depth dimensional accuracy of the hole. When measuring the surface roughness of a cylindrical hole, a surface roughness sample block can be used for comparative measurement, or a surface roughness meter can be used for precise measurement. The surface roughness meter slides a stylus across the surface being measured, converting the microscopic surface fluctuations into electrical signals, thereby deriving the surface roughness parameter value.
During the measurement process of turned cylindrical holes, the following points should be noted: First, the surface of the hole to be measured and the measuring tool should be cleaned before measurement to prevent impurities from affecting the measurement accuracy; second, the measuring tool should be kept perpendicular or parallel to the axis of the hole to ensure accurate measurement position; third, for precision measurement, it should be carried out under constant temperature conditions (generally 20℃±2℃) to reduce the impact of temperature changes on the measurement results; fourth, the measurement results should be averaged after multiple measurements to improve the reliability of the measurement; fifth, for unqualified cylindrical holes, the reasons should be analyzed in a timely manner and appropriate measures should be taken to repair them until they meet the qualified standards. By correctly selecting the measurement method and strictly adhering to the measurement specifications, the measurement accuracy of turned cylindrical holes can be effectively guaranteed, providing reliable protection for product quality.
